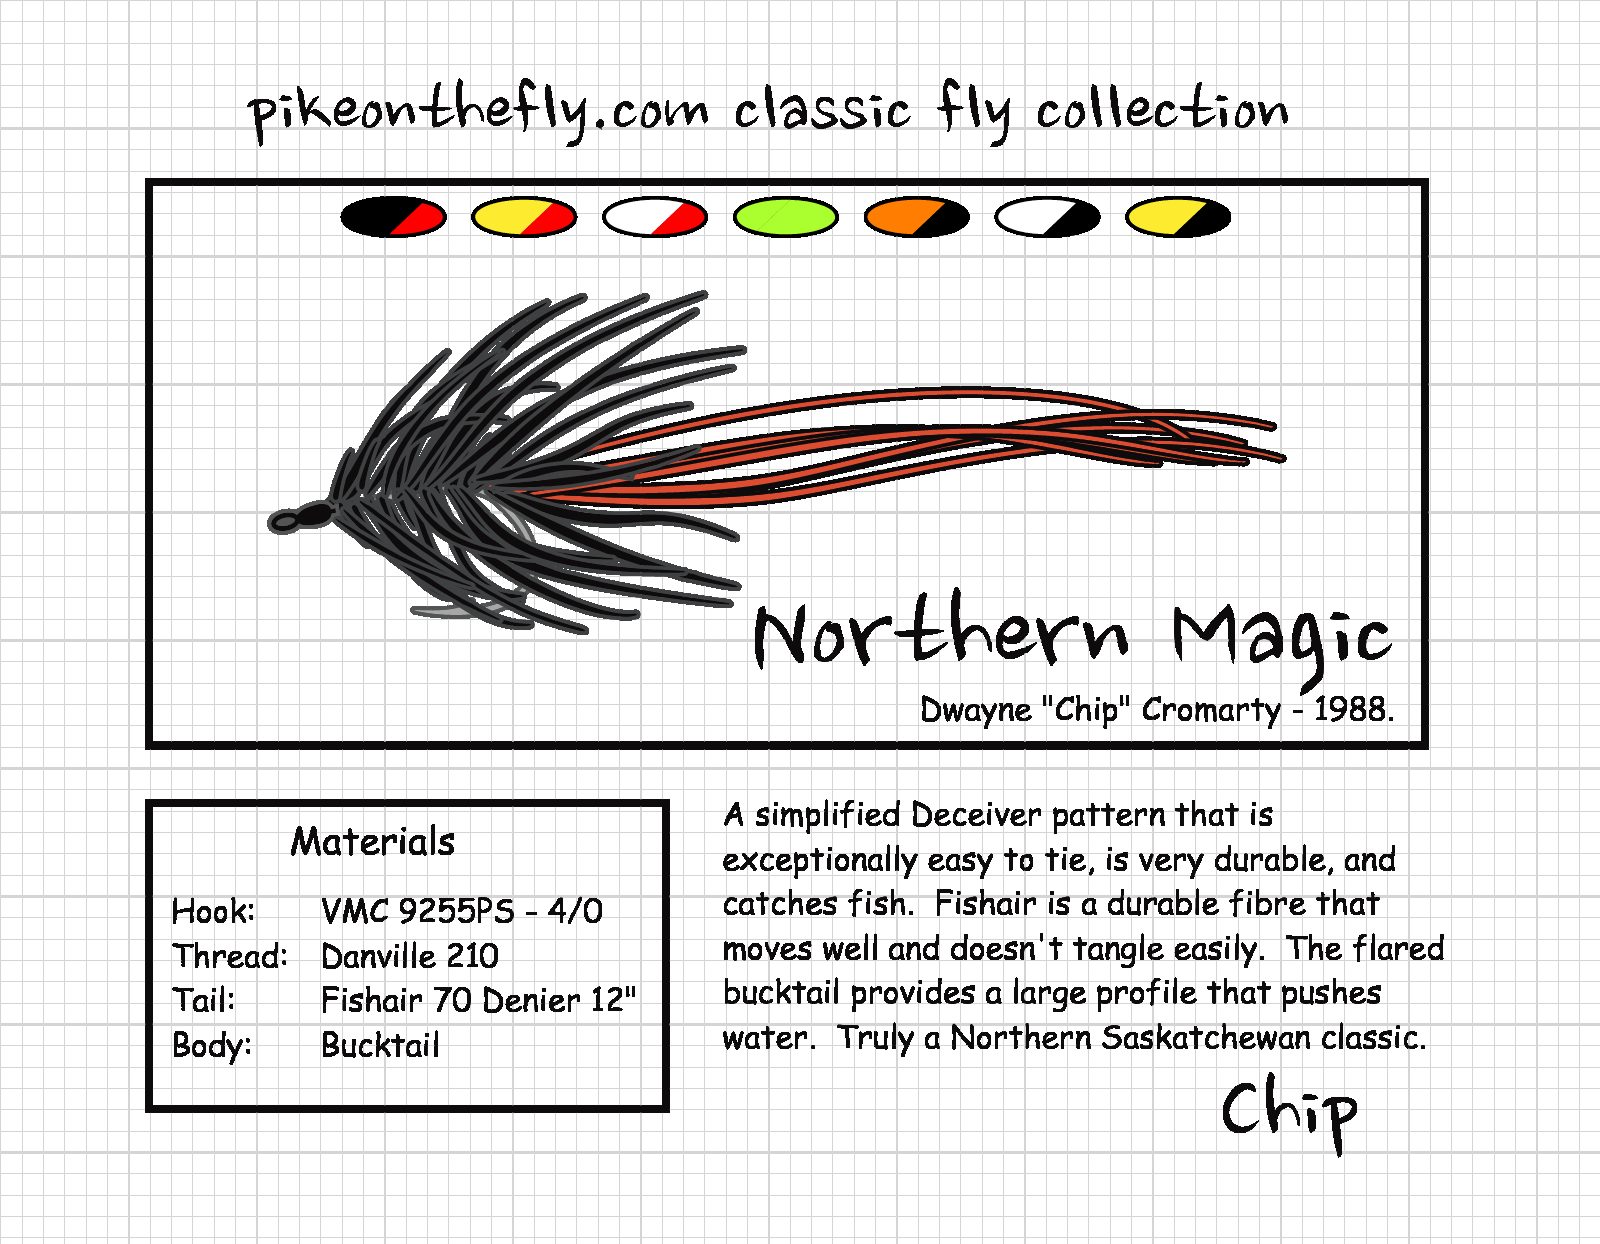

Step 1– Start the thread about even with the point of the hook.
Tie in a small bunch of 12″ Fish Hair at it’s mid-point

Step 2– Fold the Fish Hair back and secure it with half a dozen or so wraps.
Bring the thread forward onto the bare hook shank

Step 3 – Clip a small bunch of bucktail.
Transfer it directly to the hook
Don not comb out underfur, stack it or manipulate it in any way, keep the cut ends as even as possible
Use 3 loose wraps (about 1/8″ behind cut ends) to hold bucktail in place.

Step 4– Spread the bucktail evenly around the shank of the hook by rolling it back and forth between your fingers to get an even distribution of bucktail around the shank.

Step 5– Pull the thread tight, this will cause the bucktail to flare, tie over the tips

Step 6– Wrap the tips in completely and move the thread slightly forward onto the bare hook shank. Add a second clump of bucktail in exactly the same manner as the previous bunch.


Step 7– Tie in all of the tips, using as many wraps as it takes to make a nice head

Step 8– Whip finish
Step 9– If you used a light colored thread, use a marker to color in the thread

Step 10– Optional step, but some tyers may choose to soak and dry their Chip’s Northern Magic

Step 11– Finish the fly by sealing the head with epoxy, UV cures or a head cement

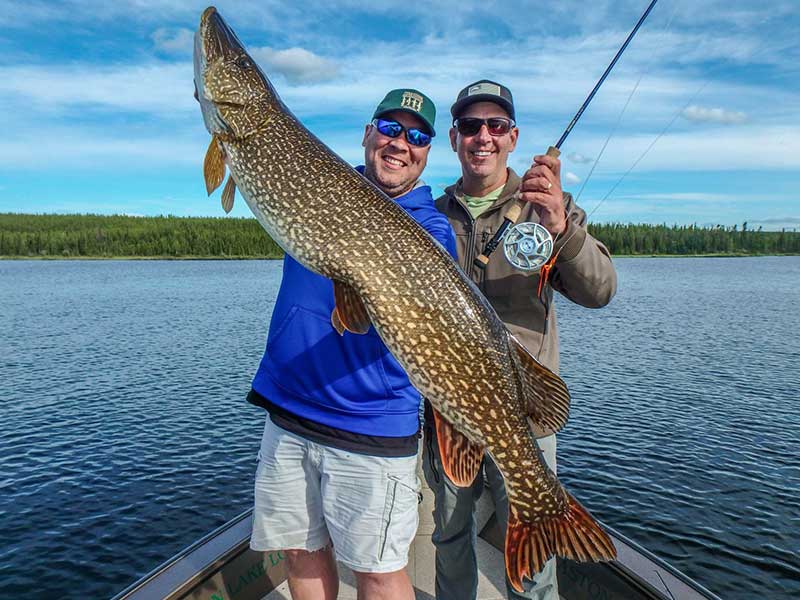
The finished Chip’s Northern Magic, a true pike classic!
Discover more from pikeonthefly.com
Subscribe to get the latest posts sent to your email.